 Bellingham
 Window Installation Built for Birchwood's Climate
Birchwood sits in one of the wetter, more weather-exposed corners of Whatcom County, and its windows take more punishment over the years than most homeowners realize until something starts to go wrong. Salt-tinged marine air drifts in off the water and works quietly on hardware and fasteners for years before anyone notices pitting or stiffness. Rain here rarely just falls straight down — wind pushes it sideways into wall assemblies, right at the seams and joints around every window opening. And on shaded lots or north-facing walls, a long moss season settles in and doesn't fully let go until well into the warmer months, feeding on whatever moisture gets trapped at sills, trim, and frames. None of that makes window installation a bad investment for a Birchwood home. It means the installation has to be built around those specific conditions, not treated like a generic job that happens to be happening in a wet climate.
This page is about window installation specifically for Birchwood properties — new construction openings and full replacements alike — and what separates an install that holds up for decades from one that starts leaking or drafting within a few wet seasons. We install windows as part of a broader exterior practice that also covers siding and roofing, which matters here more than it might elsewhere: a window opening only performs as well as its connection to the wall around it, and understanding that connection is exactly what a window-only specialist sometimes misses.
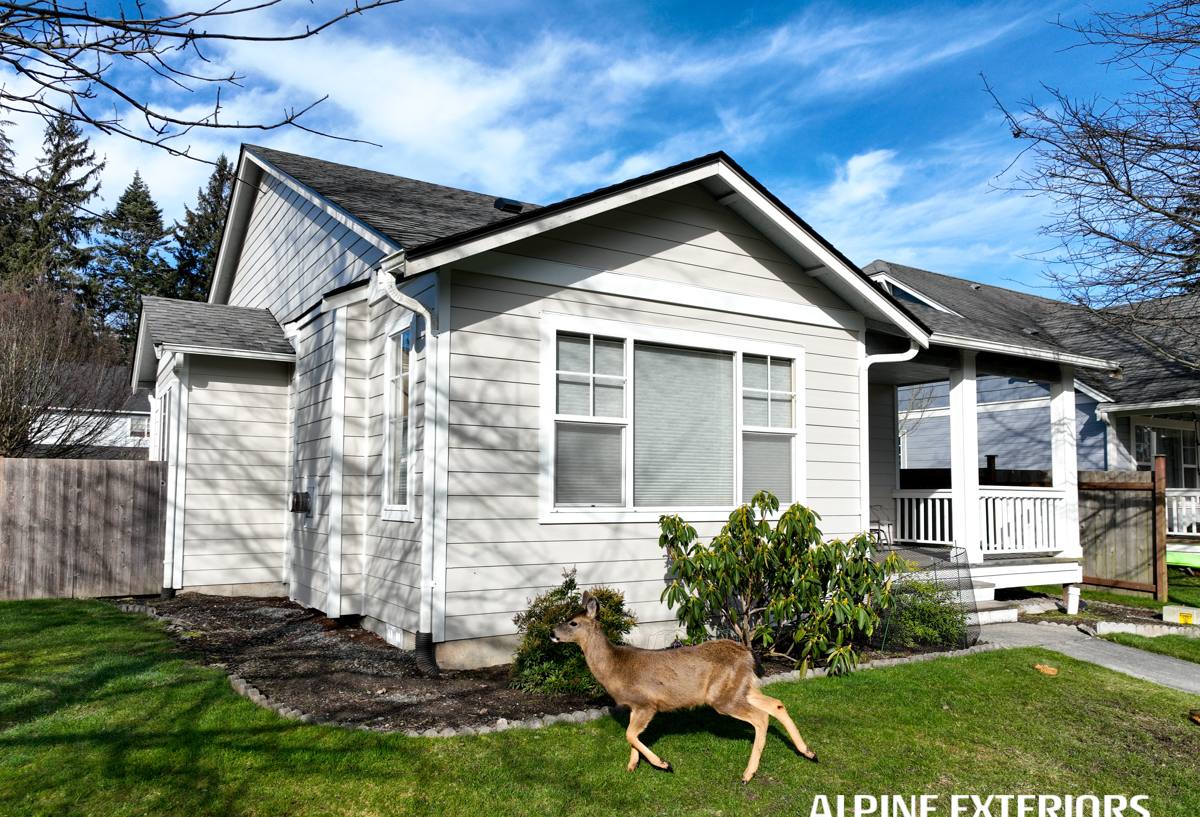
What Correct Window Installation Actually Involves
A window installation looks simple from the street — a unit goes into an opening, gets trimmed out, and that's that. What actually determines whether it performs for one winter or several decades happens in steps nobody sees once the trim is back on.
Flashing and Drainage Plane Integration
Flashing is the single detail that matters most in a climate like this one. Correctly done, flashing laps in the right order with the weather-resistive barrier and siding around the opening, so any water that reaches the rough opening gets directed back out and away from the framing instead of trapped behind the trim. Caulk has a role in that system, but it's a supplement, not a substitute — caulk alone dries out and cracks over time, and once it fails with nothing else behind it, water has a direct path into the wall.
Air Sealing and Insulation Around the Rough Opening
The gap between a window's frame and the rough opening it sits in needs to be sealed and insulated correctly, not just stuffed with whatever's on hand. Overpacking that gap with rigid foam or too much fill can bow the frame and cause the sash to bind or leak at the corners. Underfilling it leaves a cold, draft-prone gap that also gives condensation somewhere to collect. Low-expansion foam or backer rod and sealant, applied at the right density, keeps the window performing the way it's rated to.
Shimming, Squaring, and Anchoring
A window that isn't shimmed level and square will bind, won't seal fully when closed, and puts uneven stress on the frame that shortens hardware life. Getting this right takes more care on retrofit openings than new construction, since older framing in this region has often settled or shifted slightly over the years and rarely sits perfectly square to begin with.
Interior and Exterior Trim
Trim is partly cosmetic, but on the exterior side it's also doing real weather-management work — directing water away from the top of the window and off the wall rather than letting it sit against the frame. Trim installed before the flashing and sealant work is fully cured, or trim that closes off ventilation the assembly needs, can trap moisture right where you don't want it sitting.
New Construction vs. Replacement Window Installation
Birchwood has a mix of newer builds and older homes with original or first-generation replacement windows, and the two situations call for different approaches.
| Consideration | New Construction Window | Replacement (Retrofit) Window |
|---|---|---|
| Access to framing | Full access to studs and sheathing before siding goes on | Working within an existing wall, often with limited access to hidden framing |
| Flashing approach | Flashing integrates directly with new house wrap and siding | Flashing has to tie into existing siding and trim without disturbing more of the wall than necessary |
| Hidden damage risk | Low — framing is visible and inspectable before install | Higher — rot or moisture damage around the old window often isn't found until removal |
| Typical project length | Coordinated with the broader building timeline | Usually completed per window in a single day once material is on site |
On a replacement job, what we find once the old window comes out matters as much as the new unit going in. Soft framing, staining, or trapped moisture behind an old window is common enough in this climate that we plan for the possibility rather than treating it as a surprise add-on charge — it gets addressed before the new window goes in, not painted over underneath it.
Choosing the Right Window for a Birchwood Home
We install vinyl and fiberglass window systems built for Pacific Northwest conditions, and we'd rather walk a homeowner through the real trade-offs than push one product as the only correct answer for every situation.
- Frame material: Vinyl is the more affordable option and performs well in a mild, wet climate; fiberglass costs more but holds its shape better through temperature swings and can be repainted later if you want to change the exterior color.
- Glazing package: Double-pane with a low-E coating is the practical baseline for this region; triple-pane adds further energy performance and interior comfort but at added cost and weight per unit.
- Hardware grade: Corrosion-resistant hardware is worth the modest upcharge given how much marine-influenced air this area sees over a window's lifespan — budget hardware tends to show pitting and stiffness noticeably earlier out here.
- Warranty structure: A manufacturer's product warranty and our installation warranty are two separate things, and we make sure homeowners understand exactly what each one covers before work starts.
Neither vinyl nor fiberglass is the "right" answer across the board — the better fit usually comes down to budget, how many windows are being replaced at once, and whether frame color flexibility matters enough to you to justify the cost difference.
Signs a Birchwood Home's Windows Need Attention
Window problems in this climate rarely announce themselves all at once. They usually show up as small, easy-to-ignore signs first:
- Fogging or visible moisture trapped between panes on a double-pane window
- Noticeable drafts or cold spots near the frame even when the window is fully closed and locked
- Sills or trim that feel soft, look discolored, or show visible rot or moss growth
- Windows that stick, won't stay open on their own, or are hard to lock the way they used to
- Visible daylight or gaps where the frame meets the surrounding siding or trim
- Paint or finish failing faster on window trim than on the rest of the exterior wall
- A musty smell near a window that doesn't clear even after the room airs out
Any one of these on its own might be minor. Several showing up together, especially on the same wall, usually points to a flashing or drainage problem behind the window rather than an issue with the glass itself.
Our Installation Process
- On-site assessment: We look at each window individually — frame condition, seal integrity, hardware function, and how the existing flashing ties into the siding — rather than quoting from measurements alone.
- Honest repair-or-replace read: Not every window on a property needs to come out. We'll tell you plainly which ones are reasonable repair candidates and which ones make more sense to replace.
- Written scope and estimate: You get an itemized bid that separates product cost, installation labor, flashing and trim work, and any framing repair, so you know exactly what you're paying for.
- Ordering and lead time: Custom-sized windows typically take several weeks to arrive, and we'll give you a realistic timeline up front rather than an optimistic one.
- Installation: Flashing, air sealing, shimming, and trim are handled to manufacturer and industry specification on every unit — standard practice on every job, not an upgrade you have to ask for.
- Final walkthrough: We test operation and locking hardware on every window with you before we call the job finished, and clean up the site fully.
Cost Factors for Window Installation in This Area
Two estimates for what looks like the same window job on paper can land far apart, and the gap almost always traces back to real differences in scope rather than one contractor simply padding a number.
| Factor | Why It Affects Cost |
|---|---|
| New construction vs. replacement | Replacement work often involves more careful removal and unknowns behind the old unit |
| Frame material and size | Fiberglass and larger or custom-sized units cost more than standard vinyl |
| Glazing package | Triple-pane and upgraded low-E coatings add cost but also add performance |
| Hidden framing damage | Rot or moisture damage found during removal needs repair before the new window goes in |
| Number of windows | Per-unit cost typically drops on larger jobs done in one visit |
| Trim and siding tie-in | Matching existing trim profiles or siding details can add labor |
We'll walk your specific property and give you real numbers based on what your windows actually need, rather than a rough figure based on window count alone.
Why Hire a Crew That Already Works Birchwood
A contractor who installs windows regularly in and around Birchwood has already seen how salt air corrodes underspecified hardware, how wind-driven rain finds its way past flashing that wasn't lapped correctly, and which walls and orientations hold moisture longest through the wet months. That knowledge shows up in small decisions on every job — how much lap a flashing detail gets, whether a gap gets shimmed and sealed or just caulked shut, which hardware grade actually makes sense for a given exposure. Those are the decisions that determine whether a window installation is still performing the same way in fifteen years or is already showing drafts and staining within a handful of wet seasons.
It also matters after the job is done. An installation warranty is only as good as the company standing behind it years later, and a contractor with an established, ongoing presence in this area is one you can actually reach if a question comes up down the road.
A Practical Checklist Before You Hire
- Ask specifically how they handle flashing integration with your existing siding, not just which window brand they carry
- Confirm current Washington contractor licensing and active liability insurance
- Get a written scope that separates the manufacturer's product warranty from the contractor's own installation warranty
- Ask for a repair-or-replace recommendation on each window individually rather than a blanket answer for the whole house
- Ask about realistic lead times for ordering, especially for custom sizes
- Ask whether they handle framing repair themselves if hidden rot or moisture damage turns up during removal
If your Birchwood home has windows that are drafty, foggy, hard to operate, or you're just not sure whether repair or replacement is the right call, we're happy to take a look and give you an honest, no-pressure read. There's a form below — reach out for a free estimate.