 Bellingham
 Windows Built for the Puget Neighborhood's Climate
Homes in the Puget area of Bellingham sit close enough to the water and the weather patterns coming off it that windows here work harder than windows do almost anywhere else in Whatcom County. Salt-laden air corrodes hardware and finishes faster than inland air does. Driving rain, pushed sideways by wind off the Sound, tests every seal and flashing detail a window has. And the long, wet moss season that stretches through fall, winter, and much of spring keeps north- and shade-facing walls damp for months at a time, which is exactly the kind of environment that finds every weak point in a window's installation.
None of that means Puget homeowners need anything exotic. It means the window itself and the install around it both have to be chosen and executed with this specific climate in mind, not a generic one. A window that performs fine in a dry inland climate can still fail here within a handful of years if the frame material, glazing, and flashing weren't matched to what this neighborhood actually deals with.
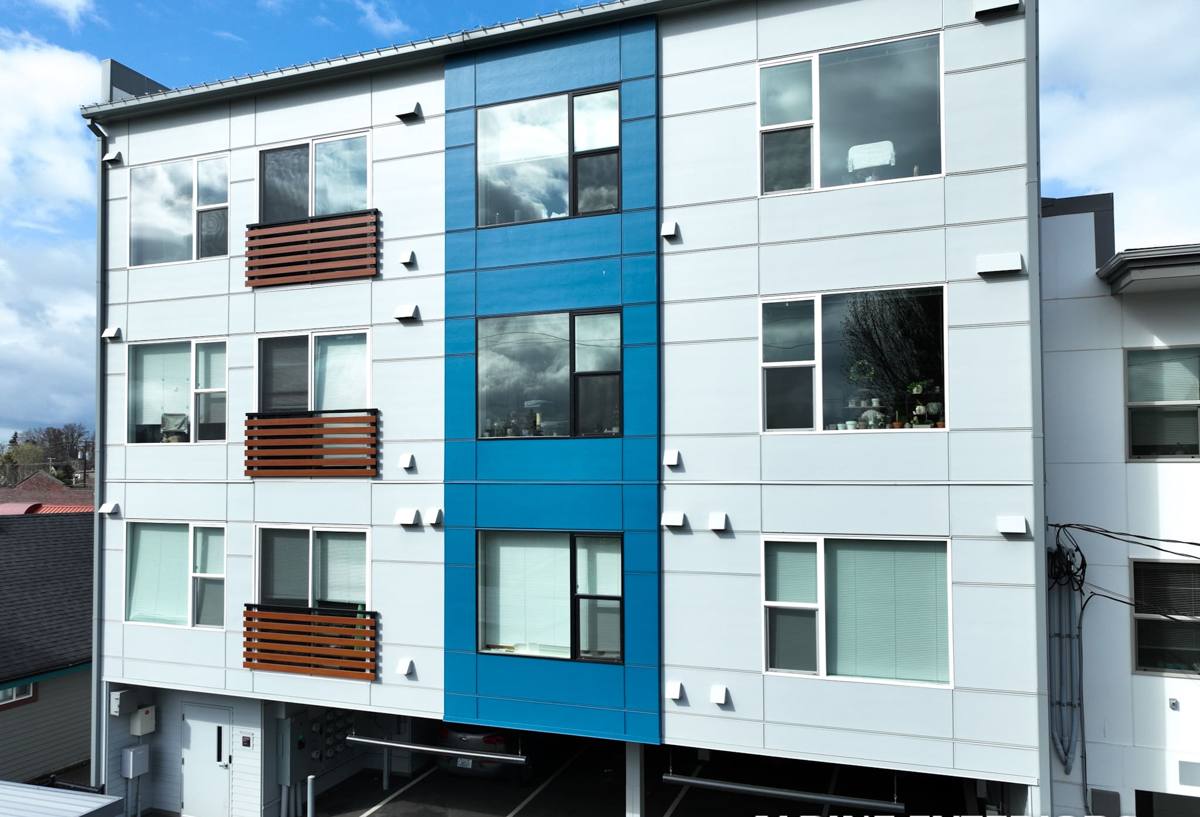
What "Energy-Efficient" Actually Means Here
Energy efficiency in a window comes down to a few measurable properties, and understanding them helps you compare options honestly instead of relying on a sales pitch.
U-Factor
U-factor measures how much heat the window lets escape. Lower is better. For Whatcom County's marine climate, where winters are damp and cool rather than brutally cold, a solid U-factor keeps heating costs down without needing the extreme insulation values you'd want in a colder, drier region.
Solar Heat Gain Coefficient (SHGC)
SHGC measures how much solar heat passes through the glass. In our cloudy climate, a moderate SHGC is usually the right call — enough to capture some free warmth on clear days without overheating south-facing rooms in summer.
Air Leakage and Condensation Resistance
These two matter more in Puget than the marketing numbers do. A window with poor air sealing will let driving rain find its way in during a windstorm. A window with poor condensation resistance will fog and sweat on the inside every time the outdoor humidity climbs, which is often, given how much moss and moisture this area sees for a good part of the year.
Signs Your Current Windows Are Losing the Fight
Before recommending a full window package, we look for the specific ways coastal weather shows up in a home's existing windows. Most of these are visible without any special equipment.
- Condensation or fogging between the panes, which means the seal has failed and the insulating gas has escaped
- Soft or discolored wood trim around the frame, often on the side of the house that gets the most driving rain
- Moss or dark staining building up on the sill or lower frame, especially on shaded or north-facing walls
- Drafts you can feel with a hand near the frame on a windy day
- Hardware — locks, hinges, cranks — that's stiff, corroded, or pitted from salt air exposure
- Paint or finish that's peeling or bubbling specifically around the window opening rather than the wall generally
Any one of these on its own might just mean a window needs maintenance. Several together, especially paired with visible moss, usually mean moisture has been getting past the frame for a while and the window and its flashing need to be addressed as a system, not just a glass swap.
What a Correct Installation Actually Involves
The window unit itself is maybe half the job. The other half is the water management around it, and that's where a lot of window failures in this climate actually start — not in the glass, but in the flashing and sealing details that keep driving rain from getting behind the siding in the first place.
Sill Pan and Flashing
A proper sill pan creates a sloped, waterproof pocket under the window so any water that does get past the exterior seal drains back out instead of soaking into the framing. This is the single most important detail on a coastal install, and it's also the one that's easiest to skip if a crew is moving fast.
Integration With the Siding and Weather Barrier
The window's flashing has to be properly layered with the house's weather-resistant barrier — tucked behind it at the top, over it at the sides and bottom — so water sheds down and out rather than working its way behind the siding. This matters everywhere, but it matters more on a home that regularly takes wind-driven rain straight on.
Sealing and Insulation
The gap between the window frame and the rough opening needs to be sealed and insulated correctly — not overpacked with expanding foam, which can bow the frame, and not left with gaps that create both a draft and a place for condensation to form inside the wall.
Hardware and Finish Selection
Given the salt content in the air this close to the water, we lean toward corrosion-resistant hardware and finishes rather than standard-grade components that look fine on day one but pit or discolor within a few seasons.
Frame Materials: What Holds Up in This Climate
There's no single "best" window frame material — each has real trade-offs, and the right choice depends on the home, the budget, and how exposed the walls are to weather.
| Frame Material | Coastal / Moisture Performance | Maintenance | Trade-Offs |
|---|---|---|---|
| Vinyl | Good — won't rot or corrode, handles moisture well | Low | Can expand/contract with temperature swings; color and trim options more limited |
| Fiberglass | Very good — dimensionally stable, resists moisture and salt air well | Low | Higher upfront cost than vinyl |
| Wood-clad | Good if detailed and maintained correctly; cladding protects the wood core | Moderate — finish and seals need periodic attention | More sensitive to installation quality; a failed seal exposes the wood core to rot |
| Aluminum | Fair — conducts heat and cold, and bare aluminum is more prone to corrosion near salt air unless properly finished | Low to moderate | Lower insulating value unless thermally broken; better suited to specific architectural uses than whole-home replacement here |
For most Puget homes, we steer homeowners toward vinyl or fiberglass for the balance of moisture resistance, low maintenance, and cost. Wood-clad is a legitimate choice for homeowners who want a specific look and are committed to the upkeep, but we're upfront that it demands more attention in a wet climate than the other options. We don't push any one brand — we walk through what each material actually costs to own over time in this specific environment, not just what it costs to buy.
How We Approach a Puget Window Project
1. On-Site Assessment
We look at each window opening individually — sun exposure, wind exposure, existing moisture or moss damage, and how the current flashing was done. Two windows on the same house can need different solutions depending on which direction they face.
2. Product Selection
We walk through frame material, glazing package, and hardware options based on that assessment and your budget, with honest trade-offs explained rather than an upsell.
3. Removal and Prep
Old windows come out carefully, and we inspect the rough opening and sheathing for hidden rot or moisture damage before anything new goes in. If we find damage, we address it before installation rather than sealing a problem behind a new window.
4. Installation
Sill pan, flashing integration, insulation, and sealing are done in the sequence that keeps water moving out and away from the structure, matched to how our siding and weather-barrier work is detailed on the rest of the house.
5. Cleanup and Walkthrough
We walk the finished openings with you, operate every window and lock, and clean up the site before we call the job done.
What This Typically Costs
Window project costs vary a lot based on size, frame material, glazing package, and how many openings need work, so we won't quote a number without seeing the house. As a broad range, homeowners in this area typically see installed costs from several hundred dollars per window on the lower end up to well over a thousand per window for larger openings or premium glazing packages. The honest answer is that a firm number comes from a walkthrough, not a website — and we'll always break down what's driving the cost so you know what you're paying for.
Why a Crew That Already Works Puget Matters
A window installer who works regularly in this part of Bellingham already knows which walls in this neighborhood take the worst of the driving rain, how moss tends to build up on shaded siding and trim here, and what level of hardware and finish actually holds up against the salt air rather than just looking good in the showroom. That local pattern recognition shortens the assessment, helps us catch problems a less familiar crew might miss, and means the flashing and sealing details are built for the weather your home actually experiences — not a generic installation manual.
It also matters for how the window work ties into the rest of the exterior. Windows aren't installed in isolation — they interact with your siding, trim, and weather barrier, and a crew that handles siding and windows together can make sure those systems are integrated correctly instead of leaving a seam where two different contractors' work meets.
A Quick Checklist Before You Hire
- Ask what sill pan and flashing method they use, specifically
- Ask how they handle hidden rot or moisture damage if it's found during removal
- Get the U-factor and SHGC numbers for the actual product being quoted, not just a general brand claim
- Confirm whether hardware and finishes are rated for coastal or high-moisture exposure
- Ask how the window flashing integrates with your existing siding and weather barrier
- Get a written scope that separates removal, installation, and any siding or trim repair
If your windows in the Puget area are drafty, fogged, showing moss staining, or just original to a much older house, we're happy to take a look and give you a straightforward, no-pressure estimate. Use the form below to get started.