 Bellingham
 Building new in the Columbia neighborhood means you get one real shot at getting the windows right. Once the siding and trim go on, the flashing and rough-opening details underneath are hidden for the life of the house. In a part of Whatcom County that deals with salt air off Bellingham Bay, driving rain off the Sound, and a moss season that can stretch from fall through spring, a window installed a half-step out of sequence is a window that will eventually leak, fog, or rot its opening from the inside out. This page covers what a correct new-construction window install actually involves in Columbia specifically — not a generic remodel checklist, but the sequencing, materials, and judgment calls that matter for a new build going up in this climate.
New-Construction Windows Are a Different Job Than Replacement
New-construction windows have a nailing flange built into the frame, and they get installed before the siding, before the weather-resistive barrier is fully lapped, and often before the interior is finished. That's a very different sequence than a replacement window, which drops into an existing opening after the exterior cladding is already in place. On a new build, the window installer isn't working around finished work — the installer's flashing decisions become part of the wall assembly itself. Get that sequence wrong on a replacement job and you have a leak behind one window. Get it wrong on new construction and the same mistake can repeat at every opening on the house, because it's usually a sequencing error, not a one-off.
That's also why new-construction window work belongs with a crew who does exterior work as their trade, not just window installation in isolation. The window, the weather barrier, the flashing, and the siding all have to integrate as one water-management system. When one contractor sets the windows and a different crew handles the siding and building wrap without close coordination, the seams between their work are where problems show up two or three winters later.
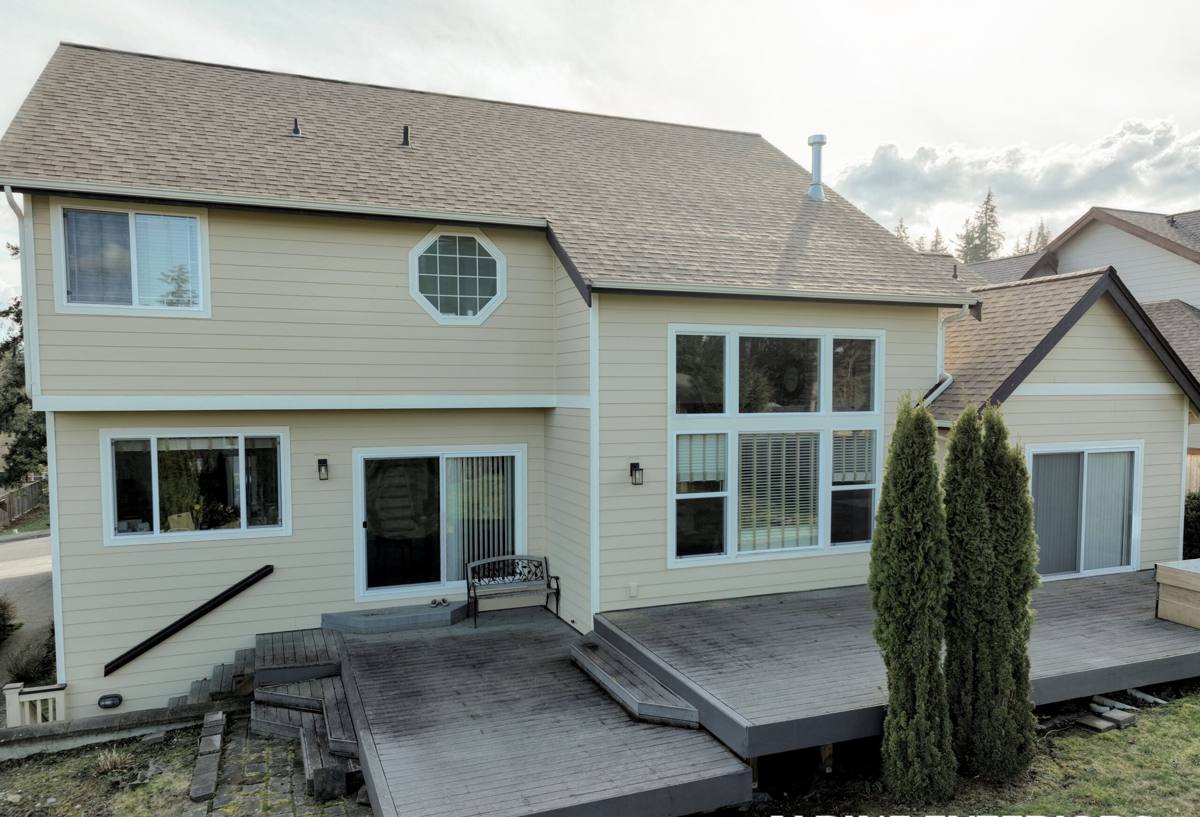
What Columbia's Climate Actually Demands From a Window Install
Columbia sits close enough to Bellingham Bay that salt-laden air is a real factor on exterior hardware and fasteners, not just a coastal talking point. Combine that with Whatcom County's long stretch of driving rain and the shaded, damp conditions that grow moss on north-facing walls and rooflines for months at a time, and you get three specific demands on a new-construction window install:
- Fastener and flashing corrosion resistance. Salt air accelerates corrosion on standard fasteners and uncoated metal flashing faster than it would inland. Materials rated for coastal exposure cost a little more up front and save a callback in five to eight years.
- Redundant water management, not just sealant. Caulk is a backup layer, not the primary defense. Driving, wind-blown rain in this area will find a gap in sealant eventually — the flashing and drainage plane behind it have to be able to shed that water on their own.
- Drainage that keeps working when things get damp and mossy. Weep holes, sill pans, and drainage gaps need to stay clear even as organic buildup accumulates on north and west exposures. A sill pan that pools instead of drains is a slow, invisible problem in a climate this wet.
None of this is exotic. It's standard best-practice window flashing done without skipping steps, using materials suited to a marine environment instead of whatever's cheapest at the yard.
Getting the Rough Opening and Flashing Sequence Right
The order water-management layers actually go in
On a correctly sequenced new-construction install, the layers go down in this order so that water is always directed out of the wall, never trapped behind a later layer:
- Sill pan flashing installed first, sloped slightly to the exterior, so any water that gets past the window has somewhere to go.
- Weather-resistive barrier lapped correctly above and below the opening before the window goes in.
- Window set into the opening, shimmed level and plumb, and fastened per the manufacturer's schedule — not just wherever it's convenient to drive a screw.
- Side and head flashing tape applied in the correct shingle-lap order — sides first, then head — so upper layers always overlap the ones below.
- Housewrap integration at the head, with a drip cap or head flashing where the wall assembly calls for one.
- Sealant at the interior air seal and select exterior joints — the backup layer, applied last, not the first line of defense.
Why the sill pan is the step most often shortcut
Sill pan flashing is the single most common corner cut on new-construction window installs, because it takes real time and it's invisible the moment trim goes on. It's also the detail that matters most in a climate that gets sustained, wind-driven rain. Without a sloped, properly integrated sill pan, water that gets past the window — and eventually, some always does — has no path out and sits against the framing until it finds a way in.
Choosing the Right Window for a Columbia Build
Frame material matters more here than in a dry inland climate, because salt air and sustained moisture punish the wrong choice faster. There's no single right answer for every project — it depends on budget, the home's design, and how exposed the walls are — but the trade-offs are worth understanding before you spec windows for a new build.
| Frame Material | Performance in Salt Air / Wet Climate | Maintenance | Relative Cost |
|---|---|---|---|
| Vinyl | Good — won't corrode or rot; seams and welds are the weak point over decades | Low | Lower |
| Fiberglass | Very good — dimensionally stable, resists both moisture and salt exposure well | Low | Mid to higher |
| Aluminum-clad wood | Good exterior protection, but any breach in the cladding exposes wood to rot | Moderate | Higher |
| Bare wood | Requires diligent upkeep to hold up against driving rain and coastal moisture | High | Higher |
We install several established manufacturers rather than pushing one house brand, because the right window depends on the specific project — north-facing exposure with heavy moss and shade behaves differently than a south-facing wall that dries out between storms. What we won't do is install a product with a track record of moisture problems in this climate just because it's cheaper or trending, and we'll say so plainly if a homeowner asks about a specific option that doesn't hold up well here.
How Our New-Construction Window Process Works
For a Columbia build, our process is built around coordinating with the general contractor's schedule rather than working in isolation:
- Plan review and window schedule confirmation — sizes, egress requirements, and rough opening dimensions checked against the actual framing before windows are ordered.
- Site walk before install day — confirming the weather-resistive barrier is in place and correctly lapped, and that rough openings are square and properly sized.
- Sill pan and flashing installation — done per the sequence above, using coastal-rated flashing tape and materials.
- Window setting and fastening — leveled, shimmed, and fastened to the manufacturer's specification, not a generalized shortcut.
- Head flashing and housewrap integration — tied into the broader weather barrier so the whole wall assembly drains as one system.
- Interior air seal and final check — sealed, tested for operation, and documented before trim and siding crews move in behind us.
Common Mistakes We See on New-Construction Window Openings
Most of the window problems we get called to diagnose in Whatcom County trace back to one of these, and they're all preventable with the right sequence:
- Sill pan skipped or installed flat instead of sloped to drain
- Flashing tape lapped in the wrong order, directing water behind the barrier instead of over it
- Sealant used as the primary water seal instead of a backup to proper flashing
- Windows fastened off the manufacturer's schedule, leaving gaps or over-driven screws that distort the frame
- Weep holes or drainage gaps blocked by trim, insulation, or overspray during later trades' work
- Head flashing omitted on walls with heavy rain exposure or north-facing shade
Timing the Window Install Within Your Build Schedule
Window installation on a new build has a narrow window of its own — it needs to happen after the weather-resistive barrier is up and rough openings are framed and squared, but before siding crews close the wall. Scheduling it too early, before the barrier is properly lapped, forces rework. Scheduling it too late holds up every trade behind it. In Bellingham's rainy season especially, we try to sequence window installs to minimize the number of days a house sits open to weather, since every day the sheathing is exposed to driving rain is a day of added moisture risk before the drainage plane is complete.
Why a Crew That Already Works in Columbia Is Worth Hiring
Columbia's mix of established and infill new construction, its proximity to the bay, and its share of shaded, moss-prone lots mean the right flashing and drainage approach here isn't identical to what works on a dry, open lot elsewhere in the county. A crew that's already installed windows on new builds in this specific area has a feel for which walls need extra head flashing, which lots hold moisture longer into spring, and where salt exposure warrants upgraded fasteners even when the plans don't call for it. That's judgment you don't get from a crew installing windows here for the first time, no matter how skilled they are elsewhere.
If you're planning a new build or an addition in Columbia and want windows installed the way this climate actually requires — sill pans sloped, flashing lapped correctly, materials chosen for salt air and driving rain instead of the lowest bid — we're glad to walk the plans with you. Reach out for a free, no-pressure estimate using the form below.