 Bellingham
 Why Columbia Homes Take a Different Kind of Weather Beating
Columbia sits close enough to Bellingham Bay that homes here deal with a combination most inland Whatcom County neighborhoods don't: salt-laden air off the water, wind-driven rain that hits siding at an angle instead of falling straight down, and a moss season that can stretch from October well into spring. Any one of those on its own is manageable. Together, they're hard on exterior materials that aren't built or installed to handle them.
Salt air accelerates corrosion on fasteners, flashing, and trim if the wrong metals or coatings are used. Driving rain finds every gap in a weather barrier that a calmer climate would never expose — it doesn't just run down a wall, it gets pushed sideways and up under laps and trim edges. And moss doesn't just sit on the surface; given enough damp months, it holds moisture against siding and trim long after the rain has stopped, which is exactly the kind of prolonged wetness that rots wood-based products and stains poorly finished ones.
None of this means Columbia homes need something exotic. It means the installation has to be done correctly, with materials that were engineered for this kind of exposure, not just siding that happens to look right on the day it goes up.
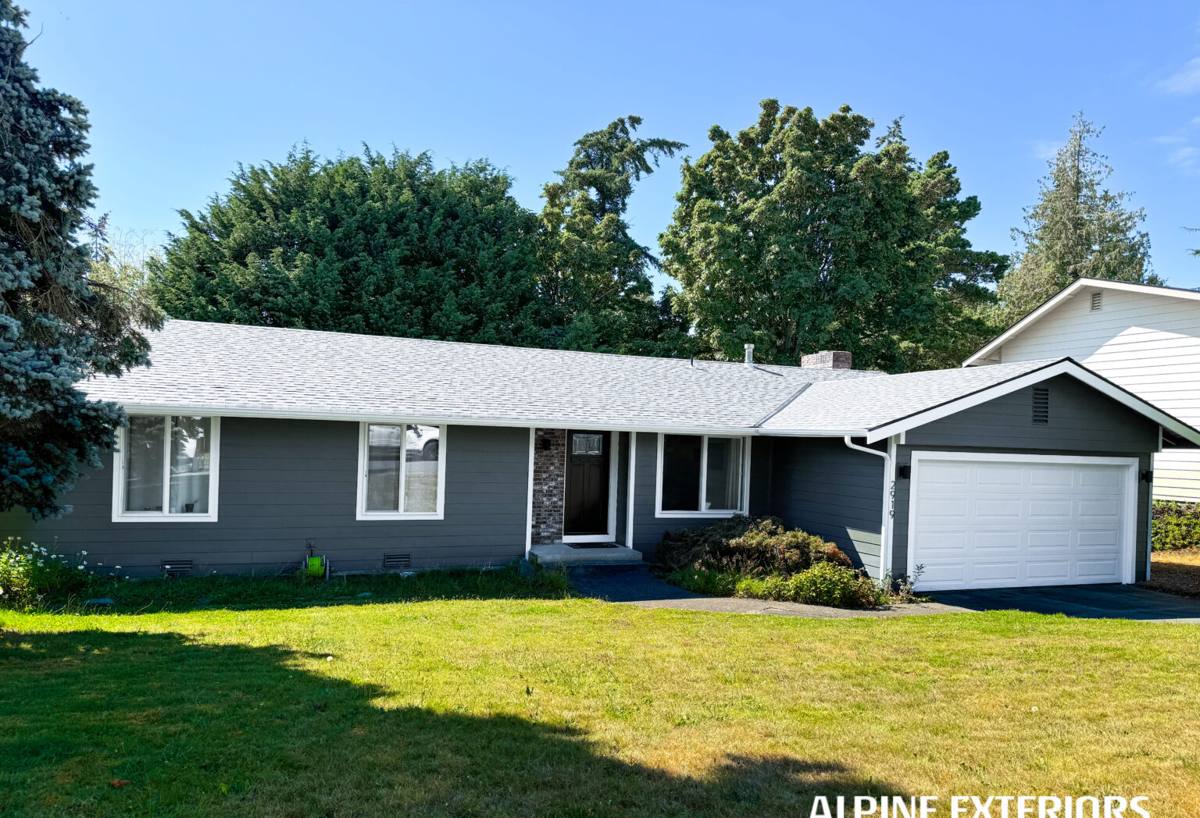
What Correct Siding Installation Actually Involves
Siding installation is often talked about like it's mostly a finish carpentry task — cut boards, nail them up, caulk the seams. In a climate like Bellingham's, that mindset is how houses end up with rot behind brand-new siding five years later. Installation quality is almost entirely about what's underneath and around the visible surface.
The parts nobody sees but everyone eventually pays for
- Weather-resistive barrier: A continuous, properly lapped house wrap or building paper behind the siding, installed so water is always directed outward and down, never trapped.
- Flashing at every penetration: Windows, doors, hose bibs, light fixtures, and deck ledgers all need flashing that sheds water past the siding, not into the wall cavity.
- Proper fastening: Corrosion-resistant fasteners, driven at the manufacturer's specified pattern and depth — over-driven or under-driven nails are one of the most common causes of premature siding failure.
- Clearances: Siding kept off roof lines, decks, and grade by the gaps the manufacturer requires, so water and debris don't wick straight into the bottom edge.
- Caulking and sealant only where they belong: Modern siding systems are designed to shed water through overlaps and drainage gaps, not rely on caulk as the primary defense. Over-caulking traps moisture as often as it keeps it out.
Get these details right and the visible siding does its job for decades. Skip or rush any of them, and it doesn't matter how good the product is — water will find its way in.
Why We Install Only James Hardie Fiber Cement
We made a decision as a company to install one siding system: James Hardie fiber cement. Not because it's the cheapest option or the fastest to install, but because it's the product we're willing to stand behind in a climate like this one.
Fiber cement doesn't absorb and swell the way wood-based products can, which matters directly in a moss-prone, high-moisture environment where prolonged dampness is the norm for months at a time. It's non-combustible, which is a real consideration as wildfire smoke and drought stress become more common summer conditions in Western Washington. And Hardie's ColorPlus factory finish is baked on under controlled conditions, which holds up to salt air and UV exposure more consistently than field-applied paint on-site — no repainting cycle every five to seven years.
Hardie also builds region-specific HZ product lines engineered for different climate zones, so the boards installed on a Columbia home are formulated for a wet Pacific Northwest exposure rather than a one-size-fits-all national spec. Combined with a strong transferable warranty, it's a system we can install to spec and expect to perform — which is the whole point of doing this work once and doing it right.
Signs Your Current Siding Is Already Losing the Battle
Most siding failure in this area doesn't announce itself with an obvious hole or crack. It shows up as small signs that get dismissed as cosmetic until the damage is already behind the wall.
- Soft or spongy spots when you press on siding, especially near the bottom courses or under windows
- Persistent moss or dark streaking that returns within weeks of cleaning
- Paint that's peeling, bubbling, or chalking heavily on one side of the house (usually the side facing prevailing wind and rain)
- Visible gaps opening up at seams, corners, or trim joints
- Warping, cupping, or boards that no longer lie flat against the wall
- A musty smell in an adjacent interior room, which often means moisture has already reached the sheathing
Any one of these is worth a look. Several together usually mean the weather barrier behind the siding has been compromised for a while.
Our Installation Process
1. On-site assessment
We look at the existing siding, trim, flashing, and — where it's accessible — the condition of the sheathing underneath. This tells us whether we're dealing with a straightforward re-side or whether there's underlying damage that needs to be addressed before new siding goes up.
2. Tear-off and inspection
Old siding comes off in sections so we can inspect the wall as we go, rather than discovering problems only after the whole house is exposed. Any damaged sheathing or framing gets flagged and repaired before anything new is installed over it.
3. Weather barrier and flashing
A new, continuous weather-resistive barrier goes on, along with flashing at every window, door, and penetration. This is the step that determines how the house performs in wind-driven rain for the next several decades, and it's not one we shortcut.
4. Hardie installation to manufacturer spec
Boards are installed with the fastener pattern, clearances, and lap details James Hardie specifies — the same details that keep the warranty valid and the siding performing as designed.
5. Trim, caulking, and final walkthrough
Trim and transitions get finished, sealant is applied only where it's actually needed, and we walk the completed job with the homeowner before calling it done.
What Drives the Cost of a Siding Installation
| Factor | Why It Matters |
|---|---|
| Home size and number of stories | More square footage and taller walls mean more material and more scaffolding or lift time |
| Tear-off vs. new construction | Removing and disposing of existing siding adds labor that a bare-wall install doesn't require |
| Sheathing or framing repair | Rot found during tear-off has to be fixed before new siding goes on — this is the most common source of surprises |
| Siding profile and trim detail | Lap width, board-and-batten accents, and trim complexity all affect labor time |
| Site accessibility | Tight lots, slopes, and limited staging area (common in some Columbia-area lots) can add setup time |
| Window and penetration count | Every window, vent, and fixture needs individual flashing work |
We won't quote a number without seeing the house, but these are the variables that actually move the price — not the brand name on the estimate.
Why It Matters That We Already Work in Columbia
A crew that's worked this specific stretch of Bellingham knows what to expect before the tear-off even starts: how much moisture tends to be sitting behind older siding on homes near the bay, which wall orientations take the worst of the driving rain, and how much of a moss problem to plan for on shaded north- and west-facing walls. That's not something you can fully account for from a generic estimate — it comes from having actually opened up walls in this neighborhood before.
It also means we're not learning Whatcom County's permitting and inspection expectations on your project. Local familiarity shows up less in the sales pitch and more in the parts of the job nobody sees once the siding is up — which, as covered above, is where the real performance of a siding installation is decided.
Maintaining Hardie Siding in a Salt-Air, High-Moss Climate
- Rinse siding annually to remove salt residue and organic buildup before it sets in
- Trim back vegetation and tree cover that keeps shaded wall sections damp longer than the rest of the house
- Check gutters and downspouts each fall so overflow doesn't run down the siding face
- Address any caulk failure at trim joints promptly rather than letting water sit behind it
- Walk the exterior once a year and note any soft spots, gaps, or new staining early, while they're still a small fix
Hardie siding installed to spec needs very little upkeep beyond this, but "installed to spec" is doing a lot of work in that sentence — it's the difference between decades of low maintenance and a callback in year six.
If your Columbia-area home needs new siding — or you're just not sure whether what's on the walls now is still doing its job — we're glad to take a look and give you a straight, no-pressure estimate. Use the form below to get started.