 Bellingham
 Building New in Silver Beach? Your Windows Need to Match the Site, Not Just the Plan Set
Silver Beach sits close enough to the water that homes here take a different kind of weather beating than houses a few miles inland in Bellingham. Salt-laden air, wind-driven rain off Bellingham Bay, and the long gray moss season that runs from fall through spring all work on a building envelope in ways that a standard window spec sheet doesn't account for. When you're framing a new home or a major addition in this neighborhood, the window package you choose and how it gets installed will determine whether you're dealing with a tight, dry, low-maintenance house for the next 20-plus years or fighting seal failures and rot around openings within a decade.
New construction is actually the best time to get this right. Unlike a retrofit, you're not working around existing trim, siding, or a finished interior — the window opening, the water-management layer, and the siding plane can all be coordinated before anything is closed in. That's an advantage worth using well.
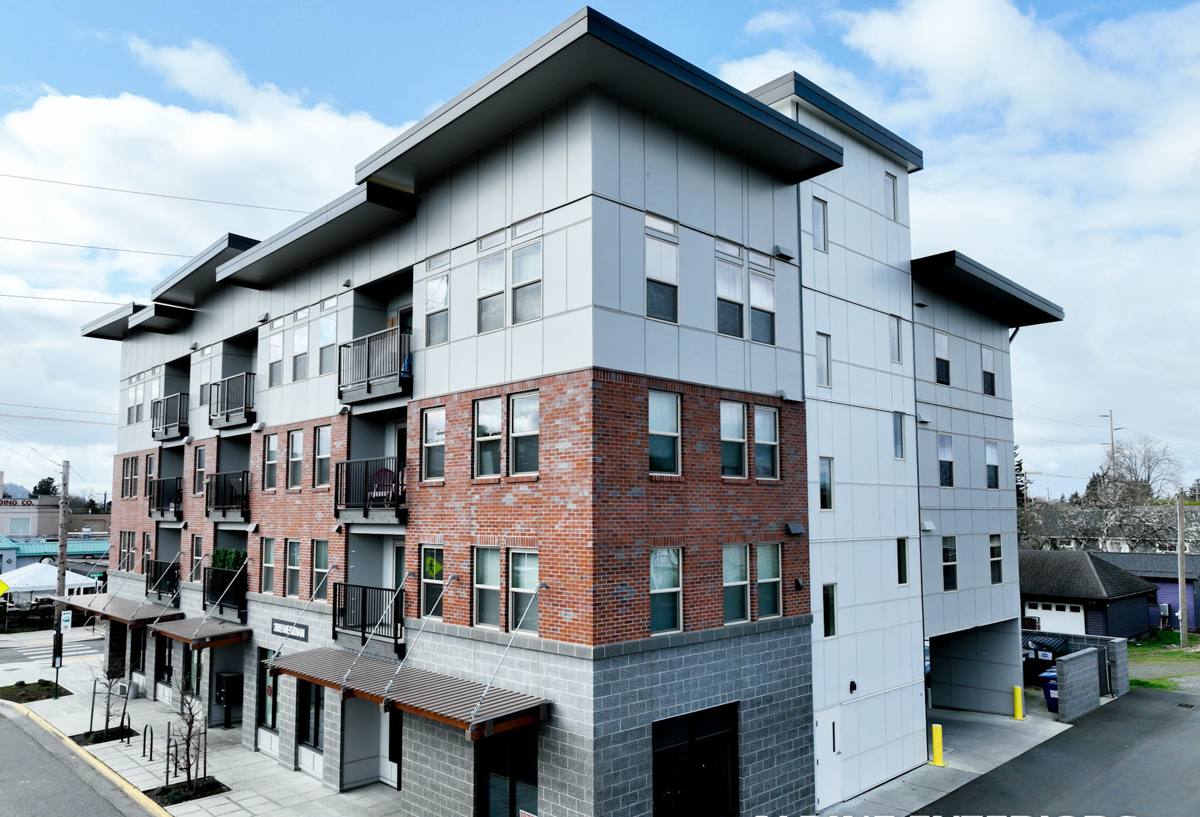
What Whatcom County's Coastal Climate Demands From a New Window Install
Salt Air and Metal Components
Proximity to saltwater accelerates corrosion on fasteners, hardware, and some window frame components. Cheaper cladding and hardware finishes can start showing pitting or discoloration well before the glass or seals ever fail. On new builds close to the water, we pay attention to hardware grade and cladding material up front, because it's far cheaper to spec the right product once than to replace corroded hardware on a window that's otherwise fine.
Driving, Wind-Blown Rain
Bellingham's storms don't just fall straight down — wind pushes rain sideways into wall assemblies, especially on west- and south-facing elevations that catch weather off the bay. A window that's watertight in a lab test can still leak in the field if the flashing details around it aren't built to shed water that's arriving at an angle, not just from above. This is where new-construction installs live or die: the flashing sequence at the rough opening matters as much as the window unit itself.
Moss, Shade, and Sustained Moisture
Long moss season means extended periods where exterior surfaces near windows — sills, trim, and adjacent siding — stay damp rather than drying out between rain events. Moisture that finds its way behind trim or into an improperly sealed opening has more time to do damage here than it would in a drier climate, because there are fewer dry stretches to let materials fully dry out.
What a Correct New-Construction Window Install Actually Involves
"New construction window" is a window with a nailing fin, installed into a framed rough opening before the exterior weather-resistive barrier and siding are finished — as opposed to a "replacement" or "pocket" window, which is inserted into an existing frame from an already-finished house. Getting this right in a coastal climate comes down to a handful of steps done in the correct order, every time:
- Rough opening check. Confirm the opening is square, level, and sized correctly with the right margin for shimming — a window forced into an out-of-square opening will bind, leak, or fail to operate smoothly for its whole service life.
- Weather-resistive barrier (WRB) integration. The house wrap or building paper has to be lapped correctly around the opening before the window goes in, so water draining down the wall sheds over the window flange, not behind it.
- Sill pan flashing. A sloped, sealed pan at the bottom of the opening gives any water that does get past the window a way out, instead of a place to collect and sit.
- Window set and shim. The unit is set plumb, level, and square, and shimmed at the manufacturer's specified points so the frame isn't racked or stressed, which affects both operation and seal life.
- Flange sealing and flashing tape. Side and head flanges get taped and integrated with the WRB in the correct shingle-lap order — head flashing last, so water is always directed outward and downward at every layer.
- Interior and exterior air sealing. Low-expansion foam or backer rod and sealant at the interior, and a proper sealant joint at the exterior trim line, close off air and bulk water paths without trapping moisture inside the wall assembly.
- Final operation and seal check. Every window gets tested for smooth operation and confirmed sealed before we move on to trim and siding.
Skip or shortcut any one of these steps and you can end up with a window that looks fine on install day but starts showing water staining, soft trim, or drafts within a few winters — right when the driving rain and moss season put it to the test.
Choosing a Window Package for a Silver Beach Build
There's no single "best" window for every coastal Bellingham project — the right choice depends on budget, the home's exposure, and how much long-term maintenance the owner wants to take on. We walk through these trade-offs honestly rather than pushing whatever has the best margin.
| Frame Material | Coastal Performance | Maintenance | Typical Fit |
|---|---|---|---|
| Vinyl | Good corrosion resistance, solid value | Low — no painting, wipe-down care | Budget-conscious new builds, rentals |
| Fiberglass | Excellent dimensional stability in temperature/moisture swings | Low | Owners wanting long service life without upkeep |
| Aluminum-clad wood | Strong if hardware and cladding are marine-rated; interior wood warmth | Moderate — cladding protects, but seams need attention near salt air | Higher-end builds prioritizing appearance |
| Bare wood | Weakest choice this close to the water without heavy upkeep | High — regular painting/sealing required | Only where the owner commits to ongoing maintenance |
Glass packages matter too. In a marine climate, we generally recommend low-E, argon-filled dual or triple-pane glazing — it helps with condensation control on cold, damp days and cuts down on the interior moisture that shows up as fogged glass or damp sills in homes that aren't drying out between storms.
Our Process for New-Construction Window Installs in Silver Beach
1. On-Site Assessment and Framing Coordination
We walk the framing with the builder or homeowner before openings are finalized, checking rough opening sizing against the window schedule and flagging anything — header height, sill framing, exposure — that needs attention before we install.
2. Product Selection Consultation
We go over frame material, glazing, and hardware options against the specific exposure of the lot — a west-facing wall two blocks from the water gets a different conversation than a sheltered, tree-covered lot a bit further inland.
3. Flashing and WRB Integration
This is the step most likely to get rushed on a busy job site, and it's the one that determines whether the house stays dry for decades. We follow a consistent, documented flashing sequence on every opening, not just the ones that are easy to reach.
4. Installation and Quality Check
Every window is set, shimmed, sealed, and operation-tested before we sign off, with photos of the flashing details taken before they're covered by trim and siding — so there's a record of what's behind the finished wall.
5. Coordination With Trim and Siding Crews
Because window flashing has to integrate with whatever siding system goes on next, we coordinate directly with the siding installer (often us, on the same project) so the water-management plane is continuous from window to wall.
Why It Matters That We Already Work in Silver Beach
A crew that only occasionally works this close to the water can miss details that are second nature to a crew that installs here regularly — how far wind-driven rain actually travels up a wall on an exposed lot, which elevations need extra flashing attention, and how much slower things dry out during a Bellingham moss season compared to a drier inland site. We've built and flashed openings on homes with this exact exposure, and we bring that specific experience to every new-construction job here rather than applying a generic install method and hoping it holds up.
We also know the practical side of building in this area — coordinating around weather windows for open rough openings, sequencing work so framing isn't exposed to rain any longer than necessary, and communicating clearly with builders and homeowners about what's happening at each stage.
A Simple Checklist Before You Finalize Your Window Order
- Frame material matched to your lot's exposure (waterfront-facing vs. sheltered)
- Low-E, gas-filled glazing specified for condensation and energy performance
- Corrosion-resistant hardware confirmed, not just standard-grade fasteners
- Sill pan flashing included in the install plan, not treated as optional
- Flashing sequence coordinated with your WRB and siding installer in advance
- Rough openings verified square and correctly sized before windows arrive
- A clear plan for keeping openings covered or protected if weather delays installation
What This Costs to Do Right
New-construction window pricing depends on the number and size of openings, frame material, glazing package, and site access — a straightforward single-story build prices very differently than a multi-story home with tall or oversized openings. We'd rather walk your specific plan set and give you real numbers than throw out a broad range that doesn't mean much for your project. What we can tell you honestly: cutting corners on flashing or hardware to hit a lower number up front tends to cost more later, in the form of trim repairs, seal replacements, or water damage that's expensive to trace and fix once siding is finished.
Let's Look at Your Plans
If you're framing a new home or addition in Silver Beach and want a window package and install plan built for this specific stretch of Bellingham's coastline, we're glad to come take a look. Reach out for a free, no-pressure estimate — use the form below to get started.