 Bellingham
 Why Lynden Homes Wear Out Their Siding Faster Than You'd Expect
Lynden sits inland from Bellingham Bay, but that doesn't mean it escapes the moisture load that defines exterior work across Whatcom County. Between the marine air pushing in off the Salish Sea, the long stretch of driving rain that runs from October through May, and a moss and algae season that barely takes a break in the shoulder months, siding here is under near-constant attack from water and biological growth rather than heat or sun. Add in the farmland fog that settles over the Nooksack valley on cool mornings, and you've got a climate that keeps wall surfaces damp for hours at a time, day after day, for most of the year.
That combination doesn't destroy siding overnight. It works slowly, at the seams, the butt joints, the nail penetrations, and anywhere caulking has started to give up. A product or installation that would hold up fine in a drier climate can fail years ahead of schedule here. That's the lens we use on every Lynden replacement: not "what looks good on day one" but "what survives twenty Whatcom County winters."
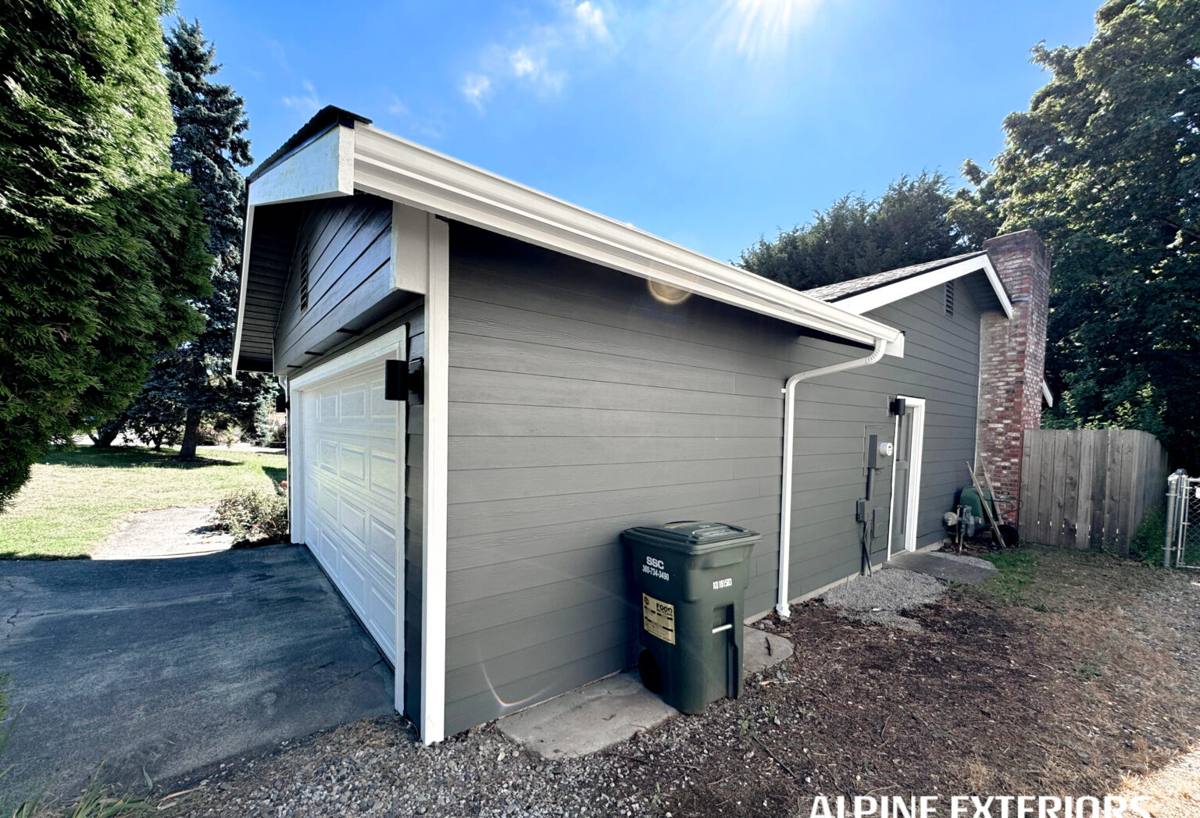
What Actually Wears Out on Lynden Siding
When we inspect older siding around Lynden, the failure patterns are consistent:
- Moss and algae staining on north-facing walls and anywhere shaded by trees or fence lines, especially where original caulking has cracked and started trapping moisture behind it
- Swelling and delamination at butt joints and bottom edges on wood-based products, where repeated wetting and drying cycles pull the material apart
- Paint failure — chalking, peeling, and blistering — on anything relying on a field-applied finish rather than a factory-cured coating
- Soft or spongy spots near ground level, at deck ledgers, and around window trim, usually a sign that water has been getting behind the siding for a while before anyone noticed
- Warping or buckling panels where the original installation didn't leave enough room for the material to move with seasonal humidity swings
None of these show up the first year. They show up in year eight or twelve, which is exactly why the choice of material and the quality of the install matter more here than in most parts of the country.
What a Correct Siding Replacement Involves
Replacing siding is not just removing old panels and nailing up new ones. Done right, it's a system, and every layer matters:
1. Tear-off and sheathing inspection
Once the old siding comes off, we check the sheathing underneath for rot, soft spots, or prior water damage — problems that are often invisible until the wall is opened up. Any damaged sheathing gets replaced before anything new goes on. Covering up a compromised wall with new siding just hides the problem for a few more years.
2. Weather-resistive barrier and flashing
A correctly installed water-resistive barrier, properly lapped and taped, combined with correct flashing at windows, doors, and roof-to-wall transitions, is what actually keeps Lynden's driving rain out of the wall assembly. Siding sheds most of the water, but flashing and the barrier behind it are the real defense against the water that gets past the surface.
3. Rainscreen or drainage gap where called for
Given how long walls stay damp here, a drainage gap between the siding and the water-resistive barrier gives incidental moisture somewhere to go and dry out, instead of sitting against the back of the siding. It's a detail that pays off specifically in climates like ours.
4. Correct fastening and clearances
Fastener spacing, panel gaps, and ground clearance all need to follow the manufacturer's installation instructions exactly. Fasteners driven wrong or panels installed too tight to the ground are two of the most common causes of early failure we find on tear-offs.
5. Trim, caulking, and paint details
The finish details — corner trim, joint treatment, touch-up paint at cut edges — are what determine whether the siding still looks sharp in year ten. Rushed trim work is often the first visible sign of a rushed job overall.
Why We Install Only James Hardie Fiber Cement
We don't install vinyl, LP SmartSide, cedar, primed spruce, or other fiber cement brands like Cemplank or Allura. That's a deliberate standard, not a sales pitch, and it comes directly from what we see in the field around Whatcom County.
Wood-based and wood-composite sidings depend on their surface coating and field-applied caulking to keep moisture out. In a climate where walls stay wet for extended stretches, any gap in that coating becomes a path for water to get into the substrate, and once wood-based products absorb water, swelling and delamination follow. Vinyl sheds water well but expands and contracts significantly with temperature, which stresses joints and fasteners over time, and it isn't a firebreak — a real consideration on rural Lynden properties near vegetation. Other fiber cement brands are a reasonable category of product, but we standardized on Hardie specifically because of their ColorPlus factory finish and their HZ5 product engineering, which we'll explain below.
James Hardie fiber cement is non-combustible, doesn't absorb water the way wood-based products do, and holds paint and color far longer because the finish is baked on at the factory under controlled conditions rather than applied on site in whatever weather shows up that week. In a region where the weather rarely cooperates for exterior painting, that's not a small advantage.
ColorPlus Factory Finish
Hardie's ColorPlus finish is cured onto the board before it ever reaches the jobsite, which means better color consistency, better adhesion, and a finish that resists the fading and chalking that field-applied paint struggles with in a wet climate. It also comes with a longer finish warranty than typical field-applied paint jobs get.
HZ5 Engineering for This Climate
Hardie engineers its HZ product lines for specific climate zones, and the Pacific Northwest falls into their higher-moisture-exposure category. That means the product itself is formulated with our rain and humidity pattern in mind, not a one-size-fits-all national spec.
Comparing Siding Options for a Lynden Home
| Factor | Vinyl | Wood/Composite (LP, cedar) | James Hardie Fiber Cement |
|---|---|---|---|
| Moisture resistance | Sheds water, but seams can let it in behind panels | Depends on coating and caulk staying intact | Doesn't absorb or swell like wood-based products |
| Fire resistance | Combustible | Combustible | Non-combustible |
| Finish longevity | Color molded in, can fade and chalk over time | Field-applied paint, typically repaints every 5-8 years | Factory ColorPlus finish, longer finish warranty |
| Moss/algae resistance | Moderate; textured styles can hold grime | Can trap moisture that feeds growth | Smooth surface sheds growth more easily with normal maintenance |
| Expansion/contraction | Notable with temperature swings | Swells and shrinks with moisture | Dimensionally stable |
How Our Process Works in Lynden
We already work regularly in and around Lynden, so we're familiar with the housing stock here — a mix of established in-town homes and larger rural and farm-adjacent properties on the outskirts, many with more wall exposure to open wind and rain than a tightly clustered neighborhood would have. Our process for a Lynden replacement runs in a few clear stages:
- On-site assessment — we walk the exterior, check for existing moisture damage, and look at exposure conditions specific to your property (tree cover, wind direction, drainage around the foundation)
- Written scope and product selection — we walk you through the relevant Hardie product line, profile, and color options for your home
- Tear-off and sheathing repair — old material comes off, damaged sheathing gets replaced, nothing gets covered up
- Barrier, flashing, and drainage detailing — the parts nobody sees but that determine whether the job lasts
- Installation to manufacturer spec — correct fastening, clearances, and joint treatment
- Final trim, caulk, and touch-up — the details that keep the finished look sharp for years
- Walkthrough — we go over the finished work with you before calling the job done
What to Ask Any Siding Contractor Before You Hire
- Will you inspect and replace damaged sheathing, not just cover it up?
- What weather-resistive barrier and flashing details will you use, specifically?
- Will fastening and clearances follow the manufacturer's written installation instructions?
- What's covered under the product warranty, and what's covered under your workmanship warranty?
- Are you licensed and insured to do exterior work in Washington, and can you show proof?
- Have you installed this specific product in Whatcom County before, and can you speak to how it's held up?
Maintenance After Your New Siding Goes Up
Even the right product needs a small amount of upkeep in a climate like ours. A yearly rinse-down to knock off moss and grime before it takes hold, a visual check of caulking at trim and joints every year or two, and keeping vegetation and sprinklers from spraying directly onto the wall will keep new siding looking close to day-one condition for a long time. Fiber cement lowers the maintenance burden considerably compared to wood-based products, but "low maintenance" isn't "no maintenance" anywhere in Western Washington.
Get a Straight Answer for Your Lynden Home
Every property is different — sun exposure, wind direction, tree cover, and the age and condition of what's currently on the walls all factor into what a Lynden home actually needs. If you're weighing whether it's time to replace your siding, or you just want a straight answer about what condition your current siding is really in, we're glad to take a look. Use the form below to request a free, no-pressure estimate.